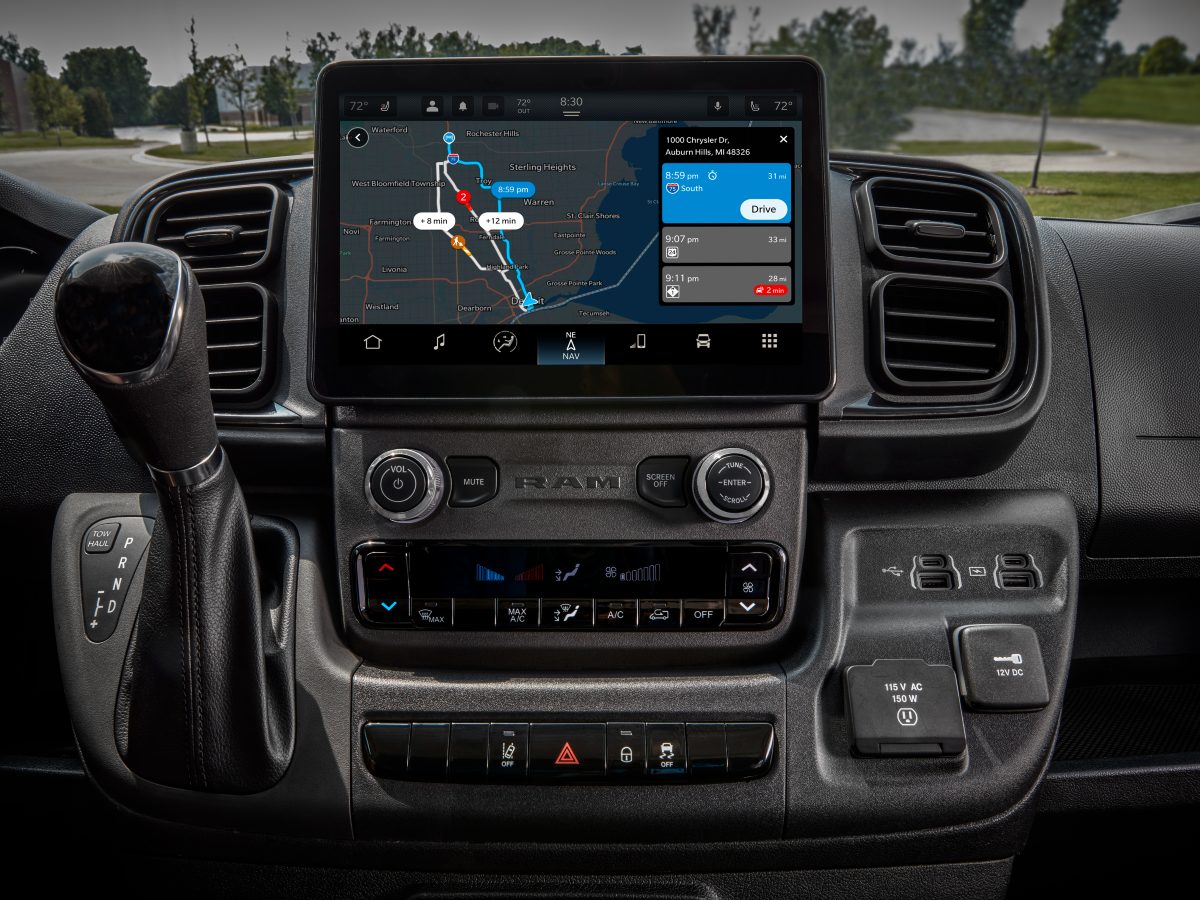
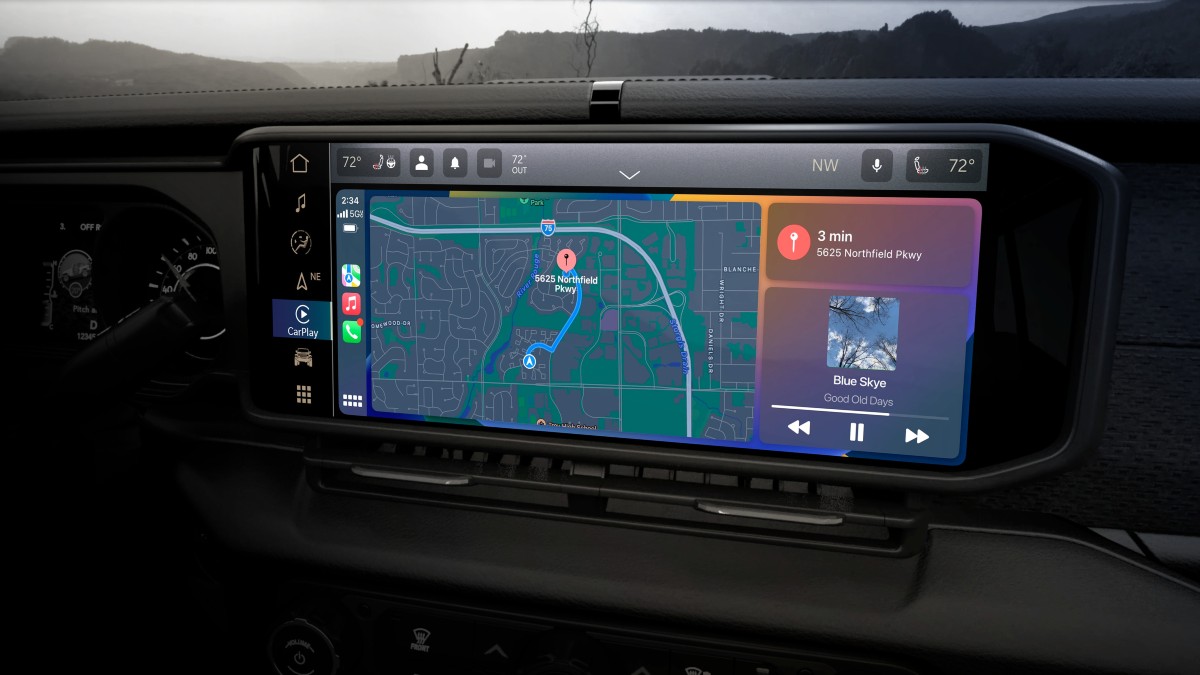
Have you ever plugged an address into your GPS, followed the directions to the letter, only to get lost because the roadways have clearly changed since the map was put together? It’s an incredibly aggravating experience that can lead to other problems, such as being late or getting stuck in a dangerous area. That’s why it’s so important to keep your GPS maps up to date as best as possible.
If you have a Stellantis vehicle equipped with a Uconnect system – such as a Dodge or Jeep – you should be able to update your maps right from your garage. Today we’re going to walk you through exactly how to do just that, with a step-by-step guide that should help you avoid that unfortunate situation as much as possible.
What Is Uconnect?
We’ll take a quick step back before we dive in so that we can explain what Uconnect is, just in case you don’t recognize it. Uconnect is the name of the infotainment system platform utilized in the vehicles we sell here at Jim Glover CDJRF. It offers various features at your fingertips, chief among them being your turn-by-turn GPS navigation system, which we’re trying to update. Here are a few other examples:
- Voice command, hands-free calling
- Apple CarPlay, Android Auto compatibility
- SiriusXM satellite radio
- Bluetooth connectivity

Why Update Your Maps?
The last thing we want to go over before getting to our step-by-step guide is why you should be updating your maps. Hopefully our introduction showed you just how important it is, but here are a few specific examples of things that might be out of date and that can obviously lead to problems for you when you want them the least:
- Road layouts, new highways
- Speed limits, traffic regulations
- New/Closed Points of Interest; such as gas stations, restaurants, stores, etc.
- Routing algorithms that deliver faster, more efficient travel
Not only can outdated maps lead to wrong turns and missed exits like we talked about earlier, but it might cause you to follow the wrong speed limit, go to a gas station that’s no longer open or even take a longer route when something quicker was available.
Step-by-Step Guide to Updating Uconnect Maps
Alright, it’s time to give you the step-by-step instructions to update the maps in your Uconnect GPS navigation system. For starters, you’re going to need access to a computer with a USB port as well as a 32 GB flash drive, as you’re going to be downloading the map update onto the flash drive then transferring it to your vehicle that way. If you have those two things, plus your vehicle of course, it’s time to get started.
- Record Pertinent Details
- The first thing you need to do is obtain two pieces of information: your Uconnect version and your navigation provider. If you already have this information, you can skip to step 2.
- On the infotainment screen in your vehicle, tap on Settings and then System Information.
- On this screen you should be able to find both pertinent details that we’re going to need. Jot them down if necessary, or be sure to remember them when you get to your PC.
- Visit Map Update Portal
- Now that you have the info you need, it’s time to get on your computer and visit the correct map update portal.
- If your vehicle utilizes TomTom for its navigation, you’re going to want to go to www.driveuconnect.com and then navigate to the Map Update section.
- If your vehicle utilizes HERE for its navigation, you’re going to want to go to www.navigation.com and then enter your vehicle details.
- These two different providers may have additional steps and processes, but we can’t go through all the details here. Follow any additional instructions until you get to a point where you have the map update data downloaded onto your computer.
- Transfer & Install Update
- The previous steps may have had you plug your flash drive in and download the update directly to the drive. If they didn’t, find where you did download the update and you can drag and drop it onto your flash drive once it’s plugged in.
- Safely remove your flash drive and then return to your vehicle, where you can insert the drive into the appropriate USB port.
- The system should automatically detect the update and begin installation, as long as your vehicle is on or in accessory mode. Installation could take up to an hour, so it’s best to remain in accessory mode rather than letting your vehicle needlessly run the whole time.
- Do not remove the flash drive until the update is complete and confirmed. You should get a notification that you can confirm to make sure that everything is complete.
Once you’ve confirmed the update has completed, you’re all set! If you run into any issues during this process, don’t hesitate to give us a call here at Jim Glover CDJRF and we’d be happy to help you figure things out.


